
As we're all about the UVs, one of the most common questions we get, is how to set up your model for import into RizomUV. The TL: DR version is pretty much to follow general mesh hygiene guidelines. But, as we never do things by half, we made you a list!
Quads
- If possible, have your geometry be as quaddy as you can, and avoid tris and ngons wherever possible.
- Remember Triangulating your mesh does not fix your bad geometry or ngons. It covers them.
- Quads will always give you an easier edge workflow
- Quads allow you to use the Rectangularise features - good for Normal baking and UV space usage
Tris, Ngons, t-shapes and non-manifolds
Do a little homework:
We know working with these can be a real pain. Learn what to do when by taking a look at these links!
If you keep having issues, try using MeshLab.
- If you are using tris, avoid very thin ones. Because they are so thin, and a UV map is all about creating space, the algorithms will sometimes make those tris bigger so the UV has room to unwrap, and this may not always be what you want.
- Ngons. Rizom likes convex ngons just fine, but it’s the concave ones which can create an issue. This is because, under the hood, all geometry is triangulated, just like in any other 3D application. So anything convex won’t have issues with that, but the concave ones can sometimes not be filled with triangles, and that means it can have issues displaying that geometry.
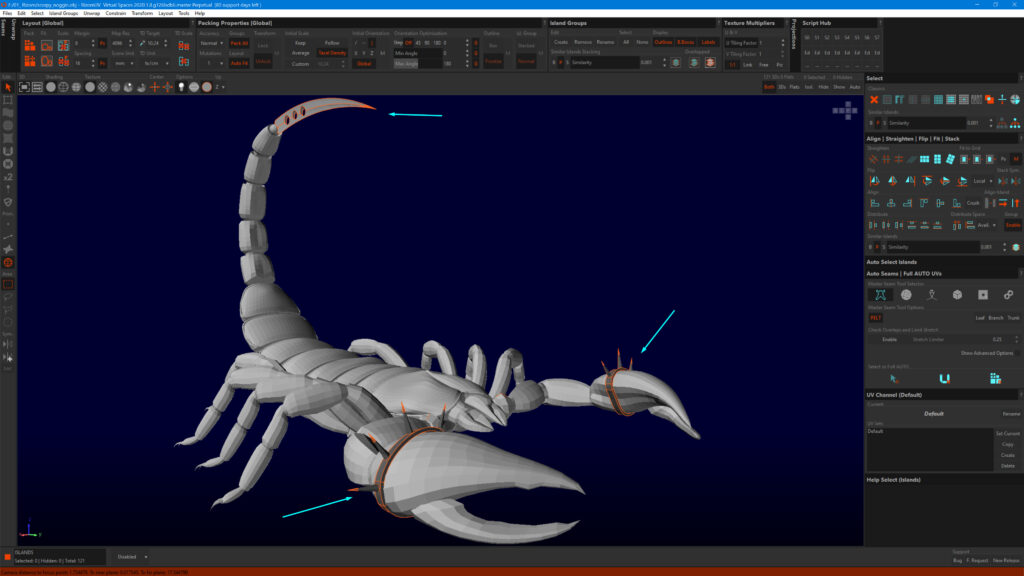
- Avoid T-shapes. T-Shapes are edges connected to more than 2 polys. Rizom will detach these causing orange verts (points) meaning unexpected loose edges or polys in areas you thought were welded solid
- Avoid non-manifold verts as well. Non-manifold vertices are when two tris are connected with a single vertex. Rizom will detach these, resulting in another orange point
Exports for imports
- If you’re not using many UV sets, such as mesh, material or polygroups, consider exporting as an *.OBJ, as they are easier to work with, and display less diva-esque behaviour like the FBX format sometimes does.
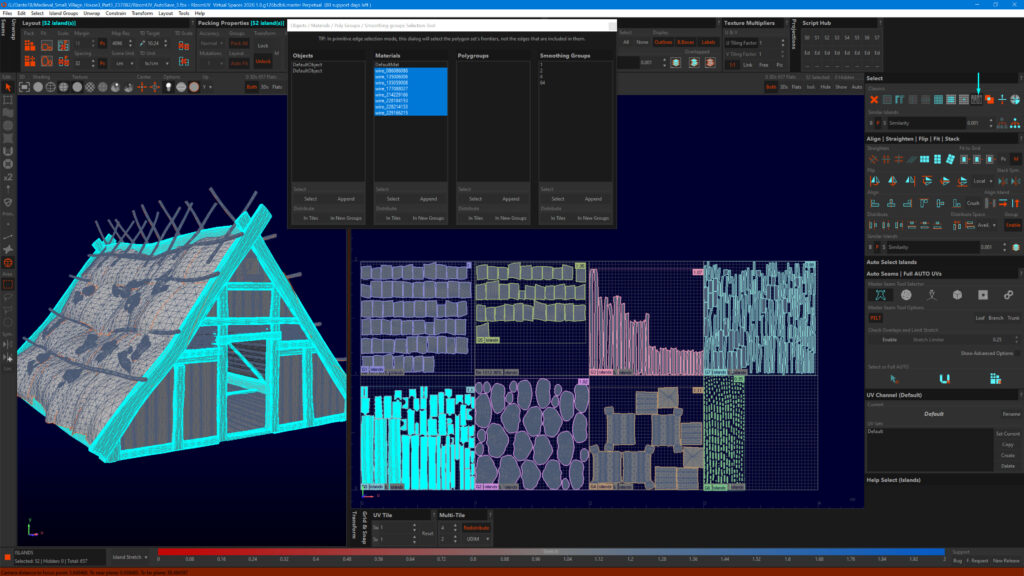
- When exporting, remember to create Material Groups for easier island and group separation it makes it easier to see your groups in the Model Selection Dialog.
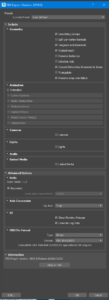
- When exporting FBX, remember to turn off everything. This means lights, cameras, and animations.
- Keep your geometry as light as you can, especially if you are on a low-end CPU, as this will speed up your processing time on the auto packs and auto cuts.
- Remember that the UVs from your lo-poly will carry over to your Sub’D poly, so unwrap the lo poly first if this is an issue for you
Last, but not least
- Remember that the UVs from your lo-poly will carry over to your Sub’D poly, so unwrap the lo poly first if this is an issue for you
- Avoid dirty geometry. If you see orange verts(points) or edges as shown below, you need to run the equivalent of a Max STL check to see where you need to weld.
These are Cirstyn/Darth's default FBX export settings from Max. As you can see - everything but the geometry has been disabled